
Here we are at the second planting season for this garden! The soil is looking pretty good!
Dandelion Problem
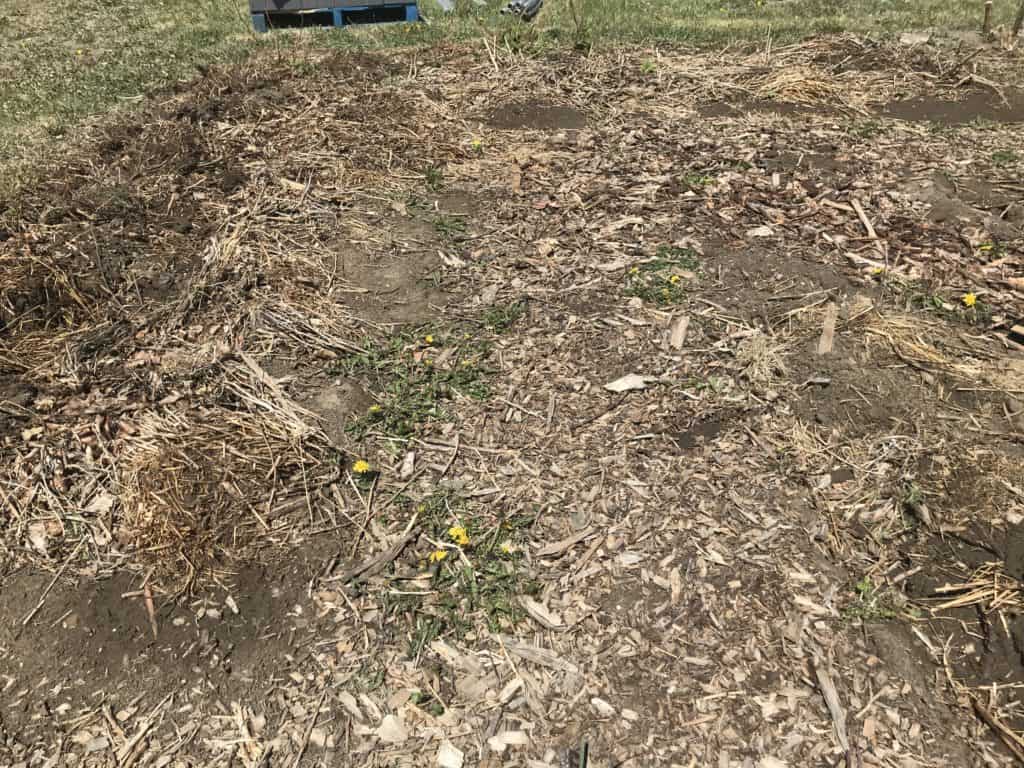
As you can see though, we have a fairly major dandelion problem. Honestly, if it were only for myself, I think I would let it slide and try to ignore them as we try to build up the yard in a way that doesn’t encourage dandelion growth (ie. great soil, and no bare areas for the opportunistic dandelions to grow).
However, we do have neighbors around here and some of them are the traditional kind with expansive manicured lawns. So as not to incite their rage, we need to try to diminish the dandelion population somewhat.
I’ve made it my goal to dig out one rubbermade bin of dandelions per day. Realistically, it might end up being 1-2 bins per week. Life is busy, what can I say ;).
Permanent Path Maintenance and Weeding
You can clearly see on the above photo that the edges of the path aren’t well defined, and there are a lot of weeds. Some other areas were even much worse, but I had covered them before I remembered to take a photo.
I’ve now dug out the edges of the beds to make the paths more defined. While digging these edges I made sure to remove all the dandelions and grasses from those areas and toss them into my bin for the garbage. I’m sure there’s a way to compost them safely to kill the weed seeds, but I’m super wary of dandelions.
(Did you know that the flowers continue to ripen after they’ve been pulled, and in short order you’ll have a whole whack of seeds floating around? I’ve learned the hard way. Now I pop them into a bin, then bag them up and dispose of them.)
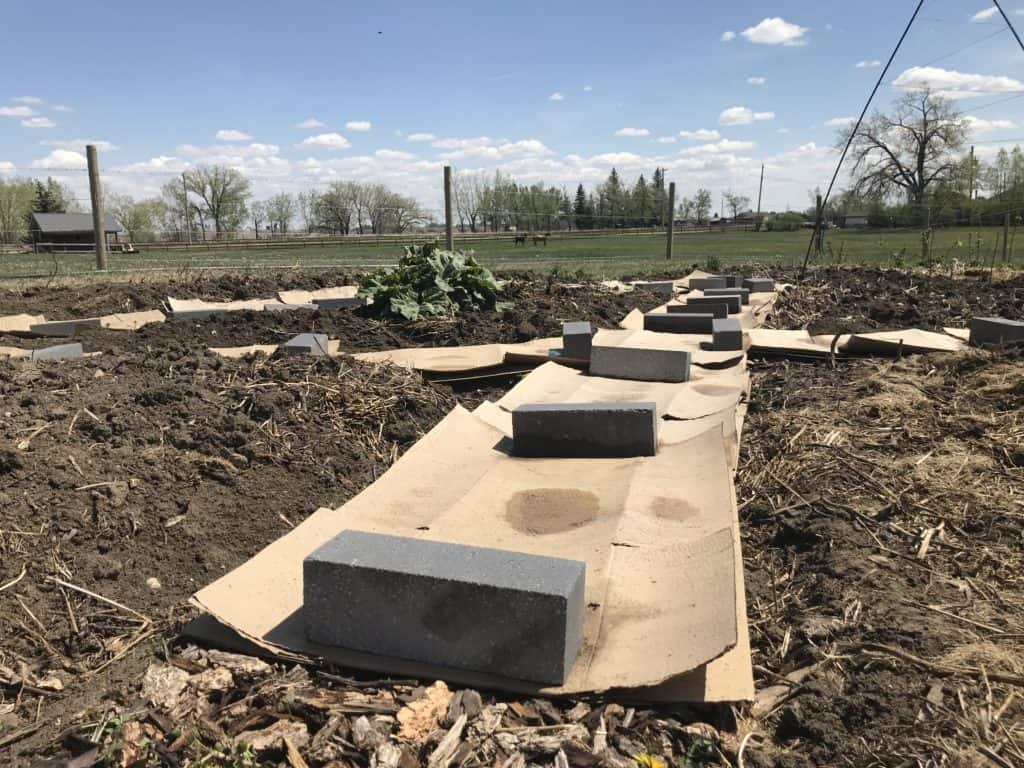
I’ve layered cardboard on the paths to hopefully choke out the many dandelions growing there. Until we have a chance to pick up some wood chips, some sturdy bricks left over from our hardscaping hold them down.
*Be sure to remove all tape, staples, and other non-break-down-able things from your cardboard before using it as a barrier layer.*
You may remember, I did have some cardboard and wood chips on my paths last year. However, time and budget were tight, so the layers of each were much too thin for the mighty dandelion ;). Hopefully this year’s application will be more effective.
Organic Matter
As you can see on the photos, there are a lot of leaves, mulch, and other plant debris in my garden. This is not by accident or from laziness; all of these things will contribute to healthy soil as they are broken down by all the organisms in the soil.
Last fall I sprinkled a few wheelbarrows full of leaves around the garden, among the stalks left standing from some vegetables and flowers. I also tossed in a couple loads of lawn clippings (not sprayed). The stalks helped keep the leaves and clippings in place, and the decomposing roots continue to feed organisms in the soil.
Another reason why not to clear your garden right out in the fall? Roots and stalks left in place will help protect your garden from winds that threaten to blow away the beautiful soil. (Can you tell we live in beautiful, WINDY southern Alberta?)
I did notice this spring that the soil in my beds was already pretty great to work with- after one growing season!- and the weeds fairly easy to dislodge. I just drove in my shovel next to each weed and wiggled it a little to loosen the soil. Then the weeds were quite easily removed along with their roots!
On the edges of the hard packed pathways, the job was much more difficult. Clear evidence that this no-till method with permanent pathways is working! The beds are staying fluffy and not compacted, filled with decomposing roots and other matter, while the paths are hard and packed.
Seeding the No Till Garden
Seeding vegetables and flowers in your no till garden is a bit more complex than if everything was thoroughly rototilled. However, the benefits outweigh the extra time needed for seeding.
Since I had redefined the bed edges, I had some nice loose soil on top of the mulch-y soil this year. I simply planted my seeds right into that. Otherwise, you’ll just want to gently pull aside your mulch or any organic matter lying on top of your soil and then plant in the soil underneath.
The benefit here is that your mulch will continue to do its job and feed the soil while also suppressing weeds.
What’s Growing in my Garden
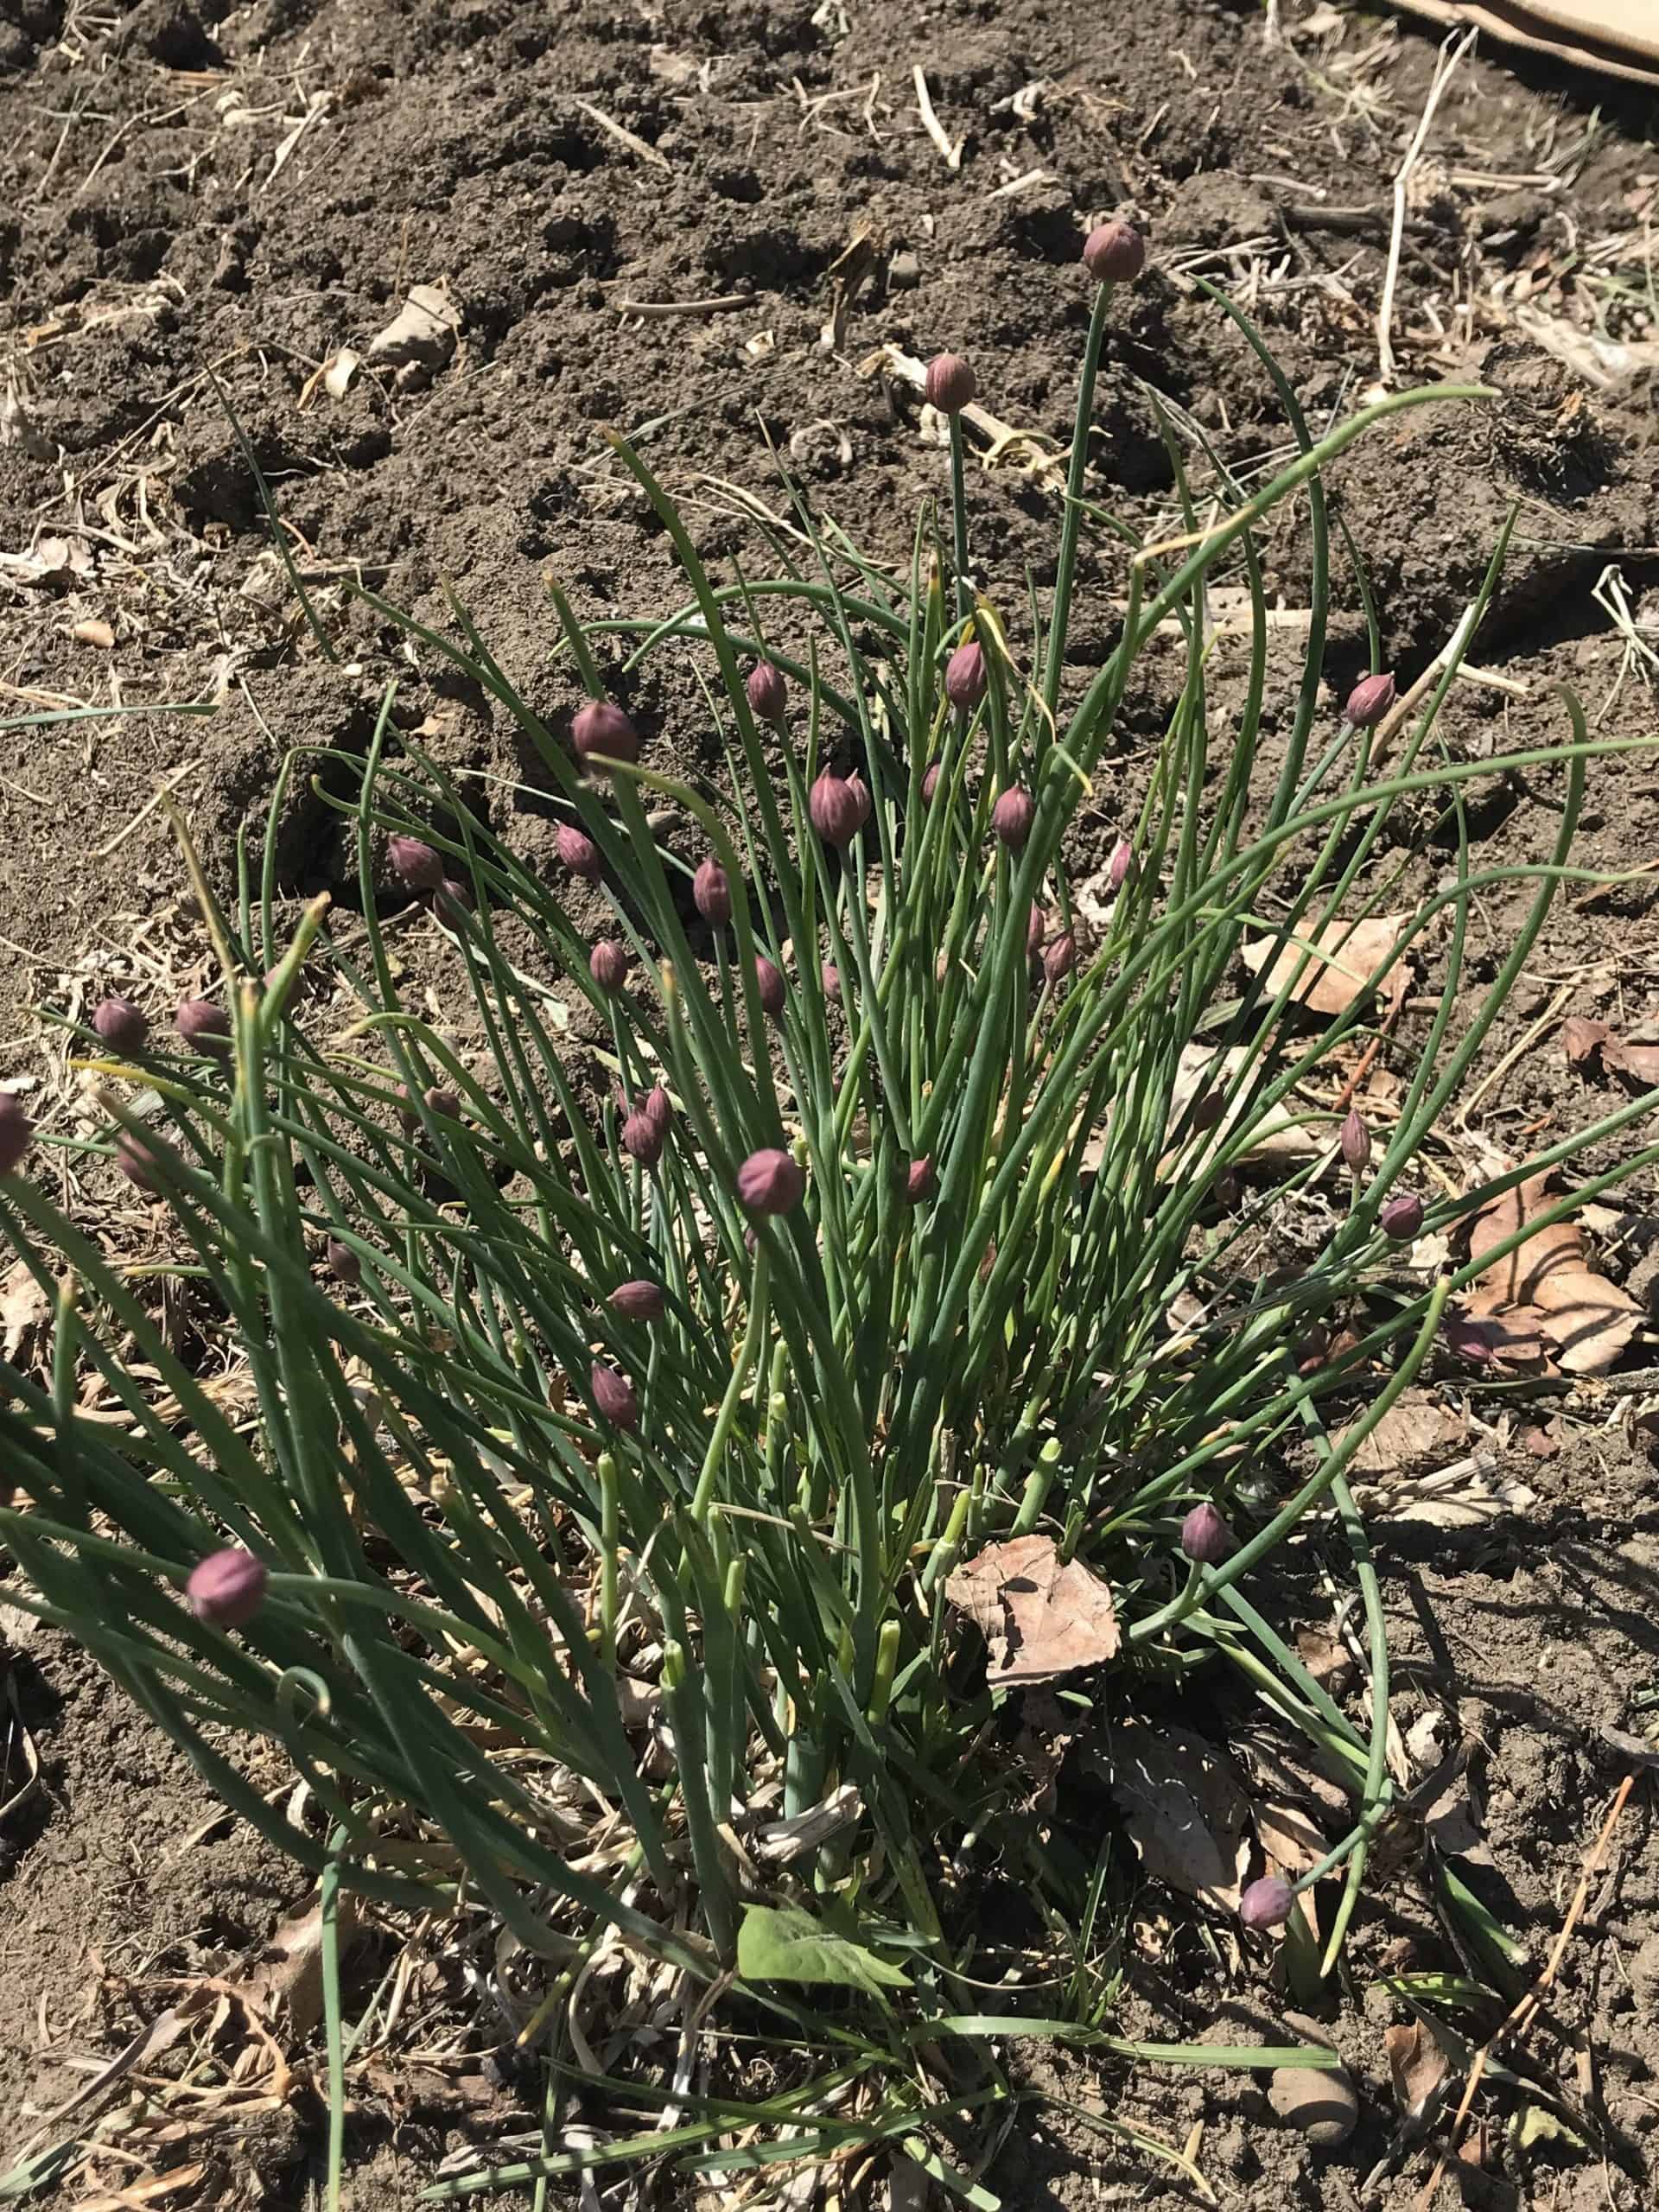
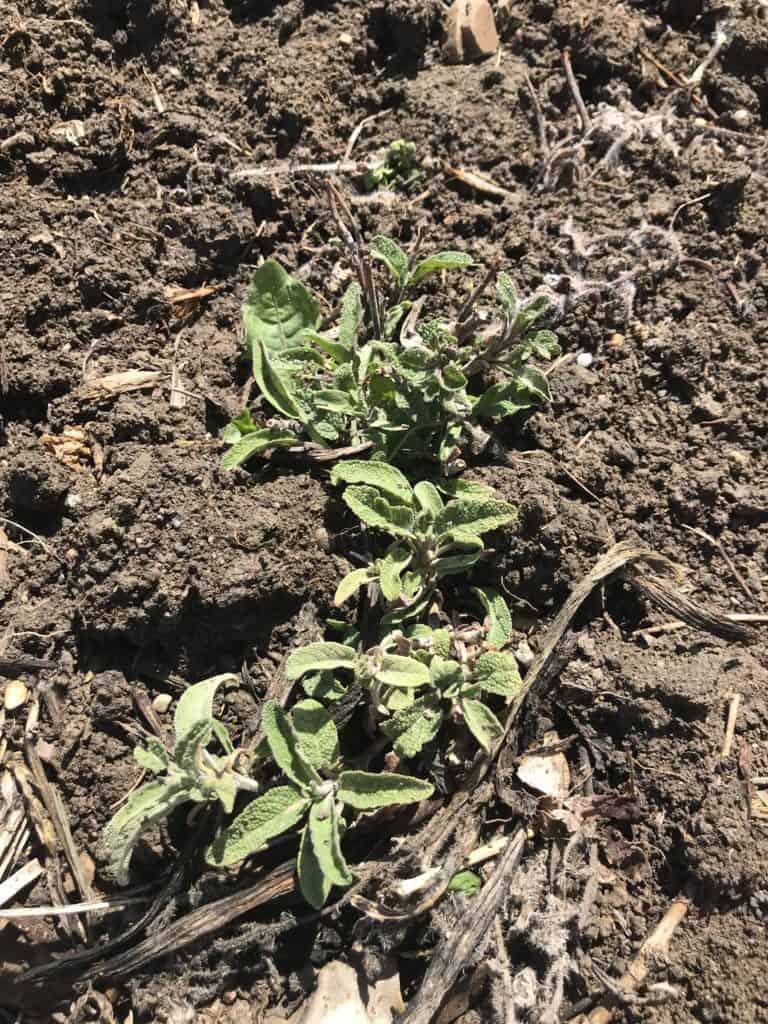
Chives and lovage are looking happy. And the sage I planted last year came back, which really surprised me!
That’s it for inside my no till garden! Just outside the garden, the raspberries are looking good, and most of the baby fruit trees we planted last year are leafed out. There is one plum tree that isn’t looking lively, but there is green inside the branches which gives me some hope still!
In Conclusion
Not going to lie: I saw my neighbor’s perfectly tilled garden planted in tidy rows, and I felt a tiny smidge of envy.
I’m sharing this with you so you see real life people struggling with the same things you might be struggling with. It can feel discouraging, but if you keep at it for a few years, it should continually become easier!
For many more tips on improving your garden soil, see this previous blog post.
The healthier your no-till soil, the more nutritious food you can grow to feed your family!
Happy Gardening!