A quick guide for the lazy or beginner gardener on how to collect and store seeds from your native wildflower garden.
Collecting Seed
First, make sure you wait until the seeds are ripe. When seeds are ready for harvest, they usually will be easily released from the plant. If harvested too early, the seed may not be fully developed, in which case it will not germinate.
For some plants, the seed head will be brown and brittle; for others, they may be starting to disperse on little white thready parachutes. You know…like dandelions do!
When fully developed, milkweed pods will burst open. Large flat brown seeds will be visible among the white threads that fill the pods and will soon float away.
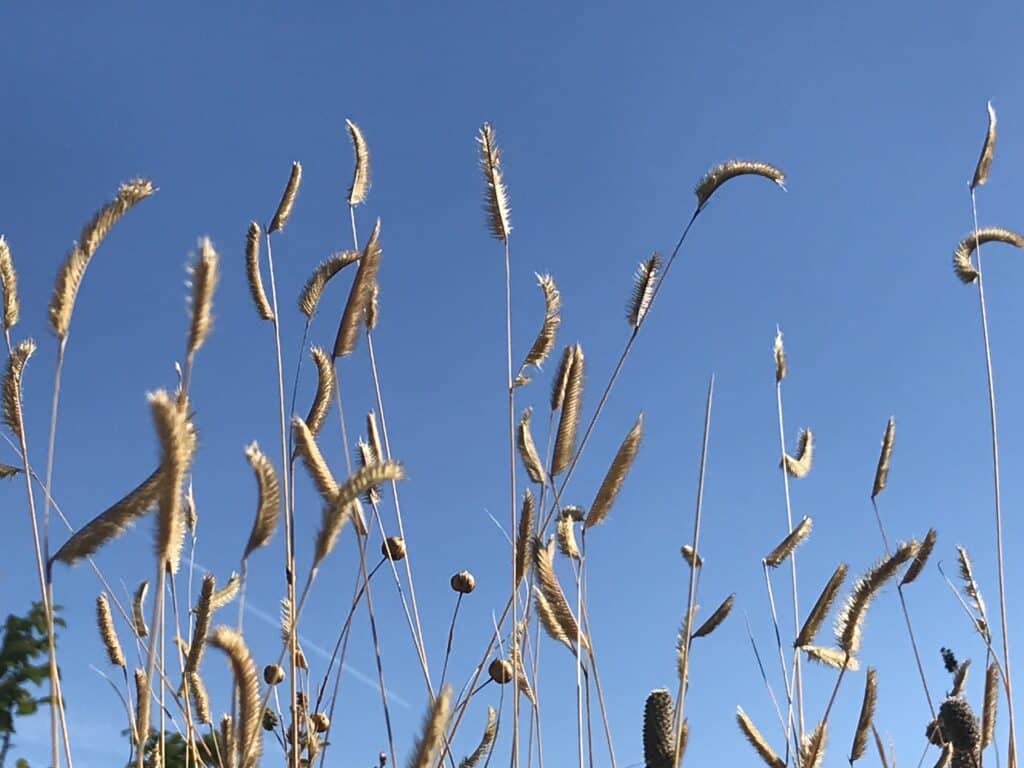
Grasses will easily lose their seeds when you run your hands over them. I find the easiest is to set a bowl or container on the ground near the grass to avoid spillage. Bend the grass down over the bowl with one hand, and with the other just slide the seed off into the bowl- it’s that easy!
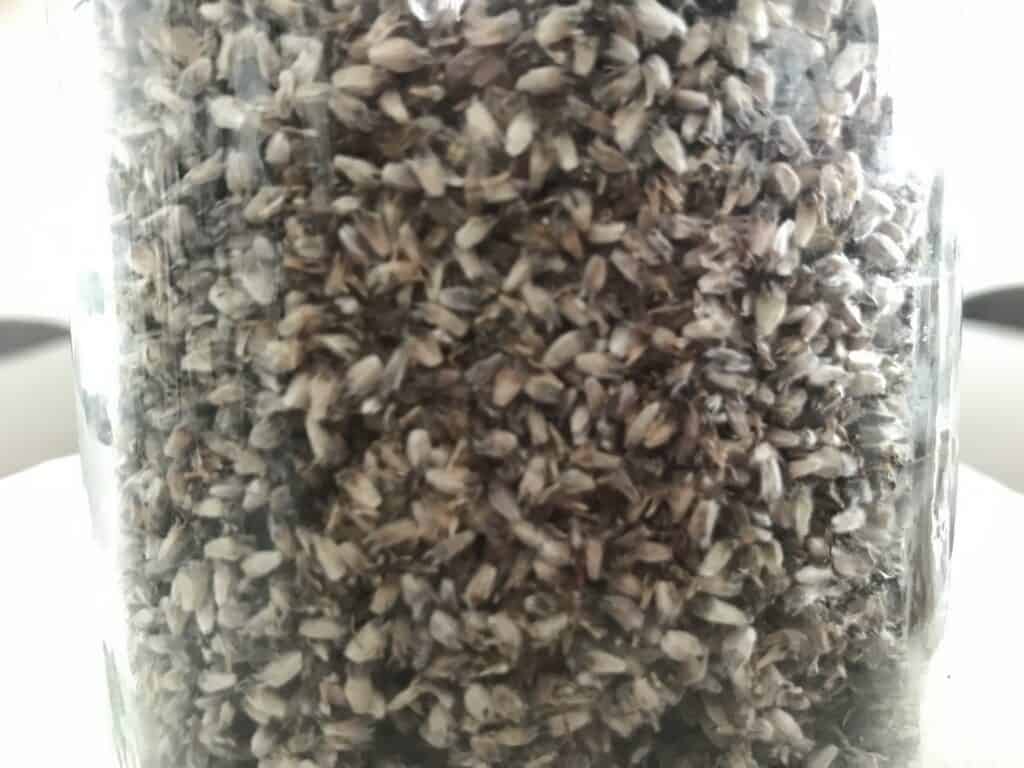
Purple prairie clover will hold tightly to seeds until they’re ripe. Test them by gently trying to slide the seed head off the stem. If ripe, they seeds will easily slide off into your hand, and otherwise you should leave them to ripen further.
I just walk along and pull seeds off in my hand until it’s full, and then drop them into a bucket. I harvested A LOT of purple prairie clover seed this year, so I look forward to sharing it with friends and family!
Asters will have visible fluffy white/creamy heads which you can then easily remove.
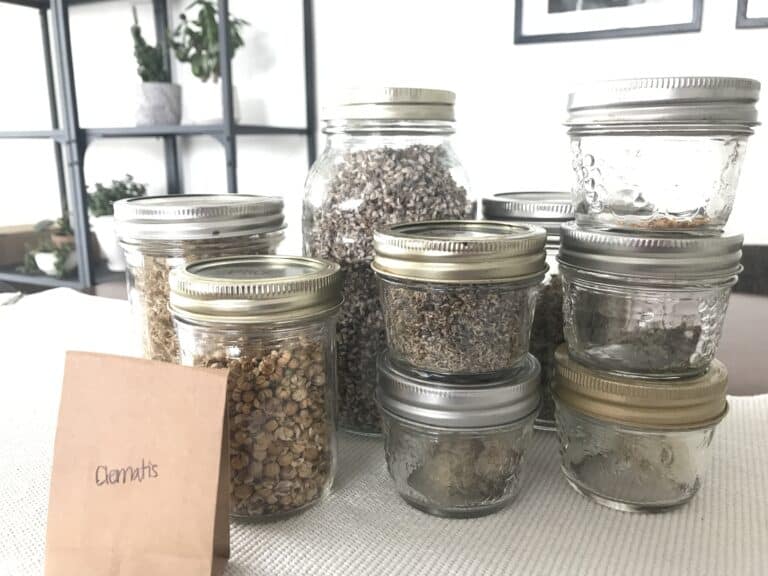
Storing Seed
Once I’ve collected the seed, I like to leave them spread out on a tray or in a bowl (or a cookie sheet, for large amounts) for a few weeks to really be sure they are dry. If sealed in an airtight container when they are still damp, they are highly likely to mold and therefore be useless.
Make sure to label each bowl or tray or container immediately with the variety of seed it contains. I didn’t label all of mine since I thought I’d definitely remember them! But when I finally when to package them up, I really had to dig deep to remember/figure out what was what!
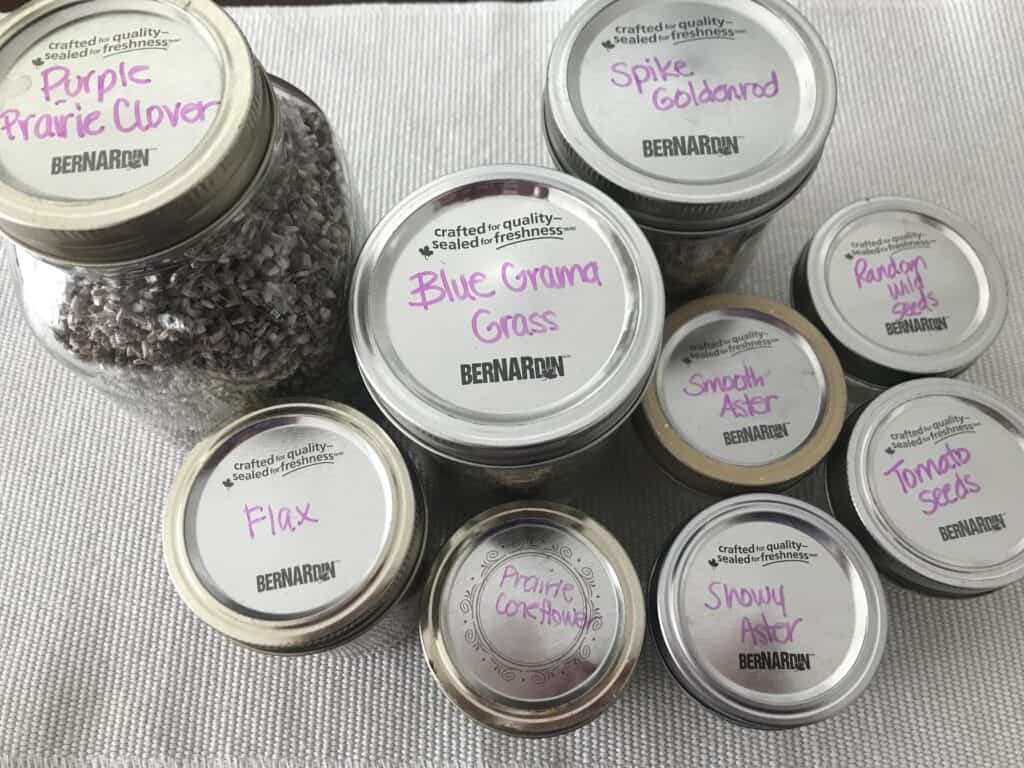
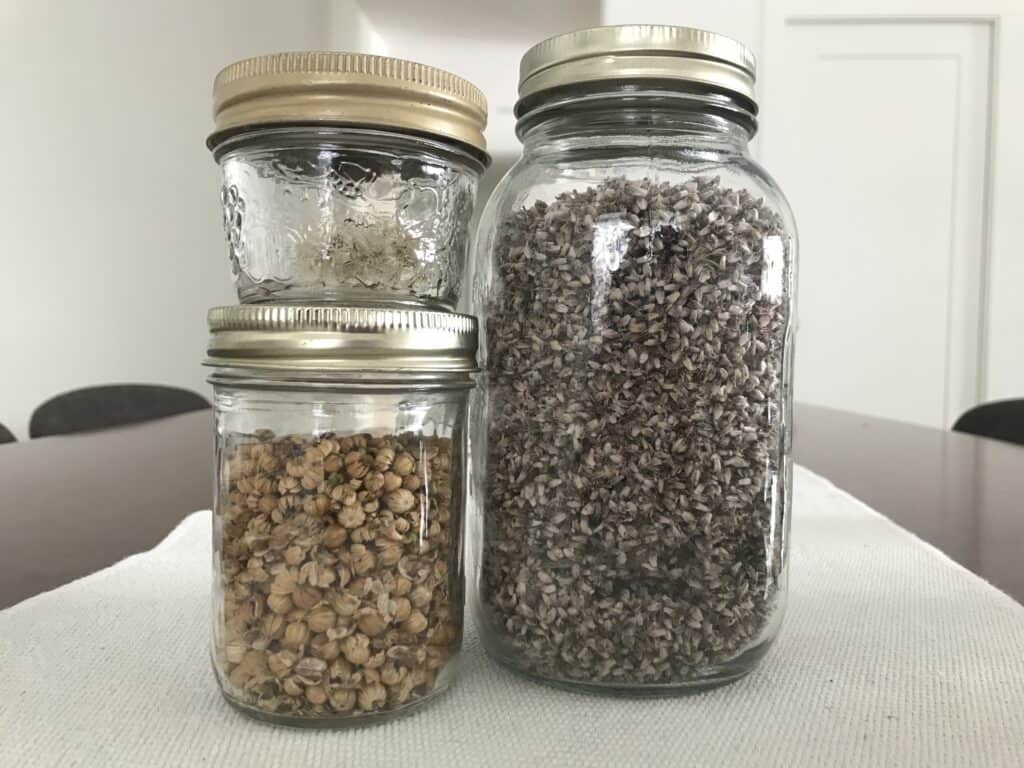
When they’ve air dried for a few weeks, they can be poured into airtight containers. It’s best to add a silica packet to absorb any moisture. I haven’t done that yet but I expect to get mine in the next couple of days.
I highly, highly recommend buying a few native plant and grass plugs from a reputable native plant nursery near you in spring, and then collecting seeds from those plugs already in the first year. That’s the easiest and quickest way to start harvesting your own seeds!
It’s so fun and rewarding to collect your own seeds to plant next year! This is the easy part though…getting them to germinate and grow is still a trickier one for me! Let me know in the comments if you have any tips.
Happy Gardening!