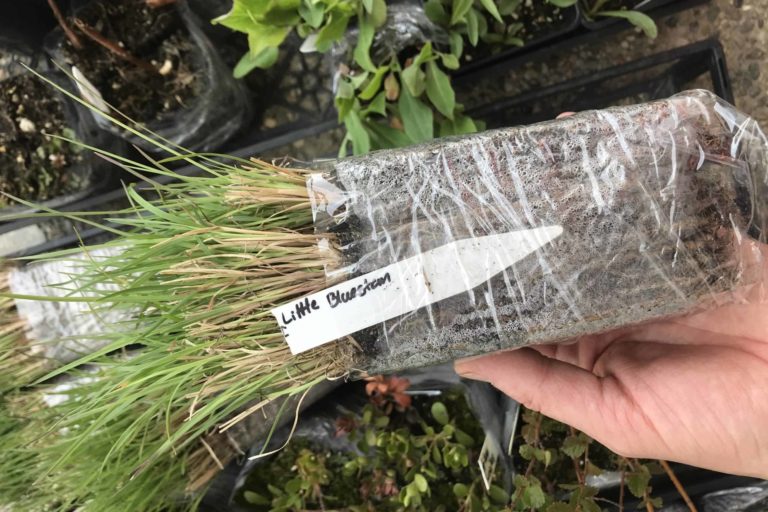
A quick summary of how I planted native grass and flower plugs this spring!
(See my previous post about how to order native plant plugs, if you haven’t gotten that far yet).
Prepping the site
Weeding
Ensure that your planting area is thoroughly weeded prior to planting plugs. (I was a bit lazy and did it as I went).
Placement of plant tags
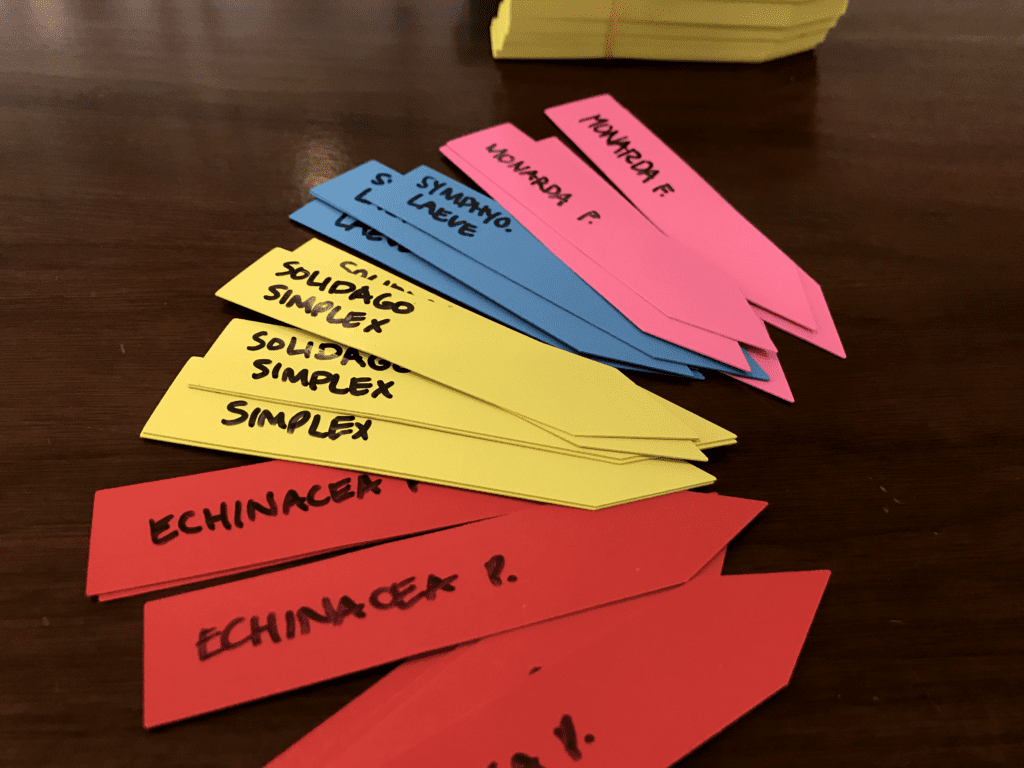
This winter, I tried and tried…and tried some more to sketch out on paper an exact planting plan. Honestly, it stressed me out a little. I worried I had ordered the wrong varieties and the wrong amounts of everything.
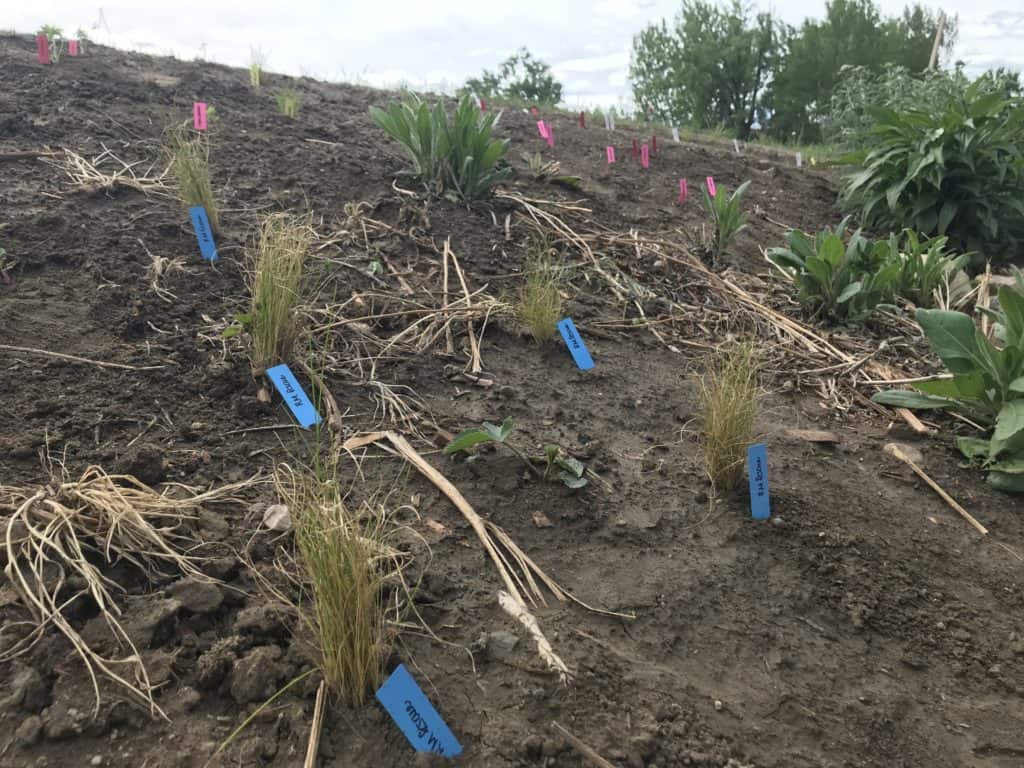
Finally I decided that I’d simply write out labels, one for each ordered plug, which I could then move around the garden to my heart’s content until I was happy with the placement. So that’s what I did! We’ll see how everything looks once it’s fully grown, and we can make adjustments as needed at that time.
Hopefully the grasses and other deep rooted plants will help stabilize our sloped areas! Notice the strawberry plant between Rocky Mountain Fescue in the photo below. That isn’t a wild strawberry, but an existing one (one of the few that survived following being grazed by deer), but I have planted quite a few wild strawberries throughout this native planting. They grow and spread like crazy, and I’m hoping they’ll make a great groundcover layer!
Picking up plugs
We drove up to ALCLA Native Plants to pick up our large plug order. All 330ish plugs were contained in 4 not-very-big trays. If you’re not prepared for that, you may feel shocked and disappointed because you are paying a premium for these plugs, after all.
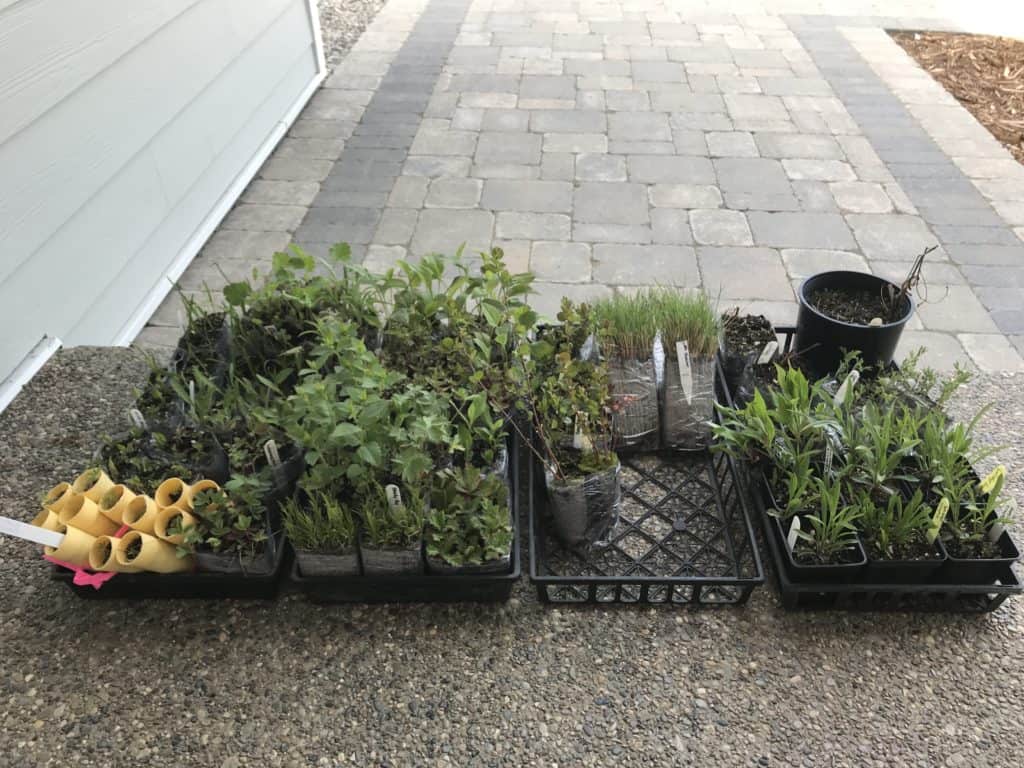
Can you believe there are approximately 330 plugs on the above photo?
Each different type is plastic-wrapped together in bundles of 5-6 (a couple were fragile and left in their hard plastic container for that reason). ALCLA Native Plants substituted a few items which they apparently had run out of, which I wasn’t aware of but they informed me on pickup.
It wasn’t a big deal though- liatris ligustylis was subbed for liatris punctata, and instead of 12 goldenrod plugs, I received 3 plugs plus 6 slightly larger plants.
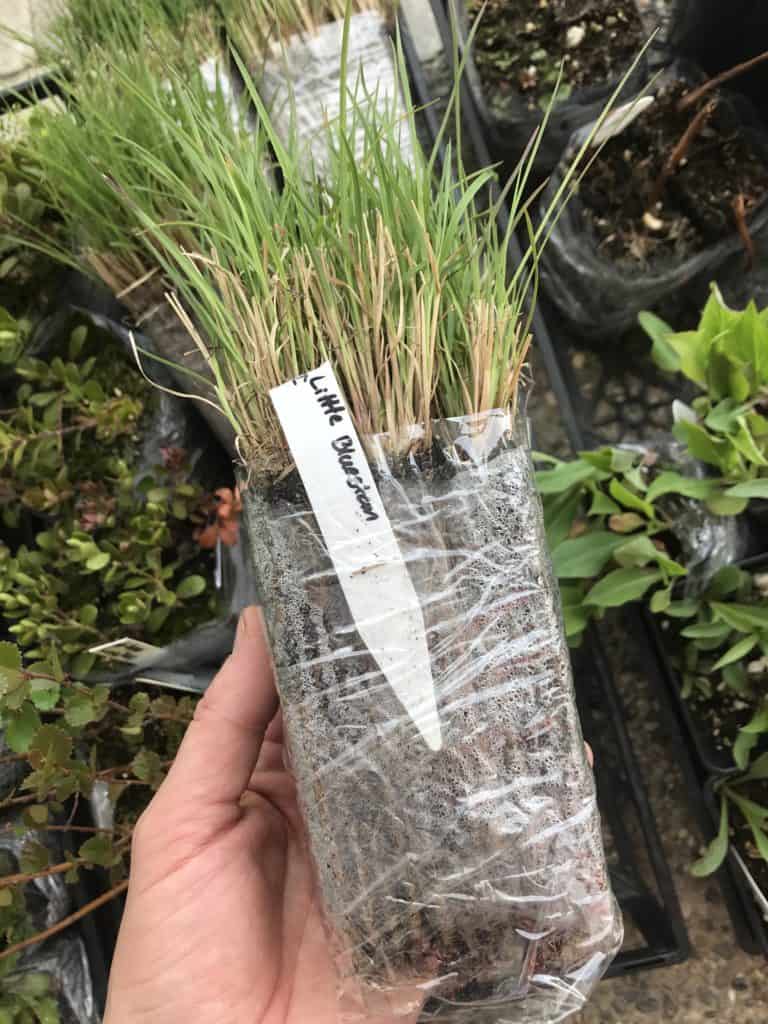
Some of the varieties have only very tiny buds in their containers, especially the fireweed, so it hardly looks like there’s anything in there at all. ALCLA staff have assured me each one does have a live bud though, and to contact them in the event that they don’t grow.
Tools needed
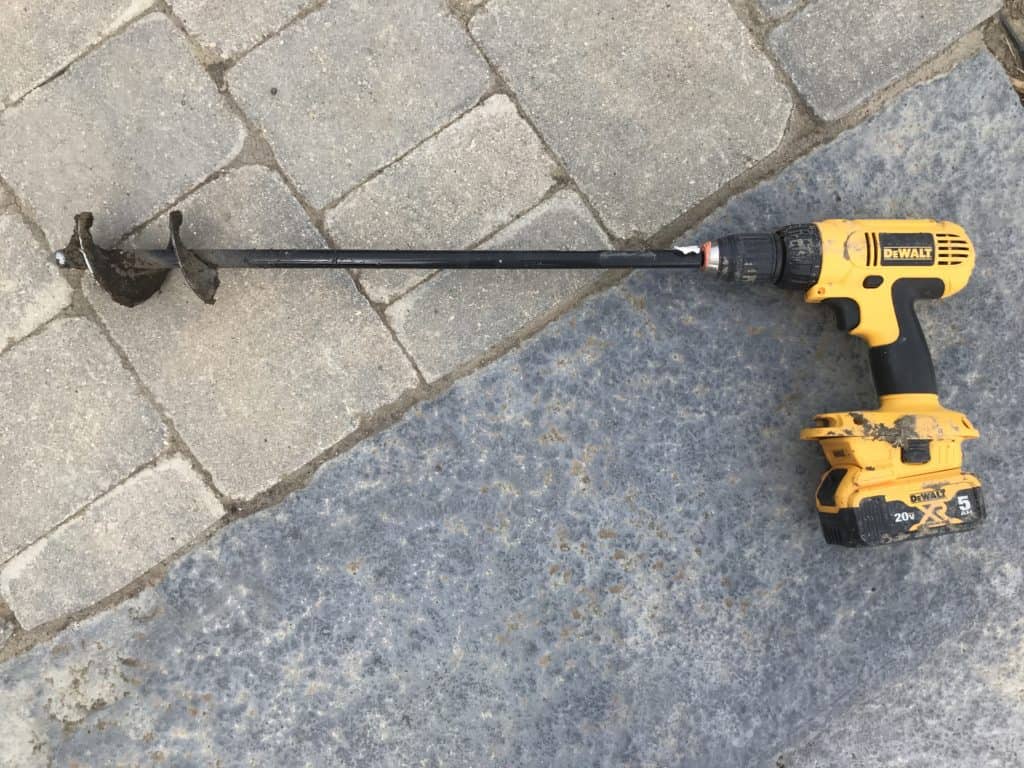
This pictured auger of sorts that is attached to a cordless drill was such a handy tool for planting all these plugs! I was grateful to borrow it from family, and it made my life so much easier. This is the exact one I used and can highly recommend.
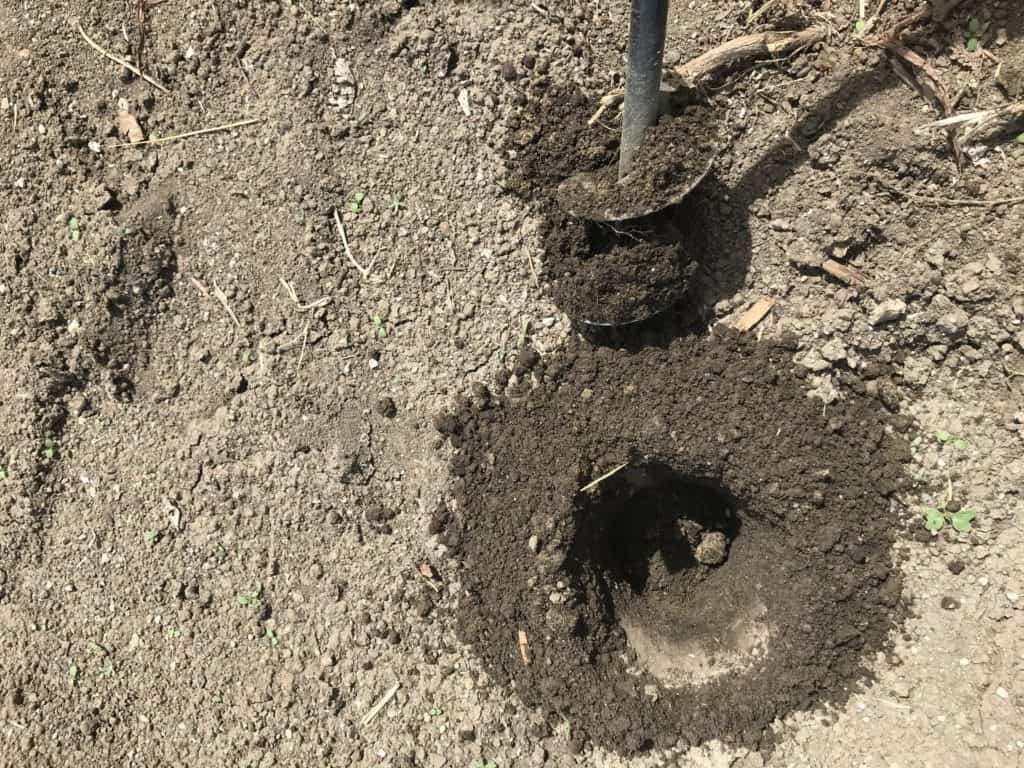
Plus some good old fashioned muscles for the planting! You can even involve your young children. (So really, you don’t need that many muscles after all).
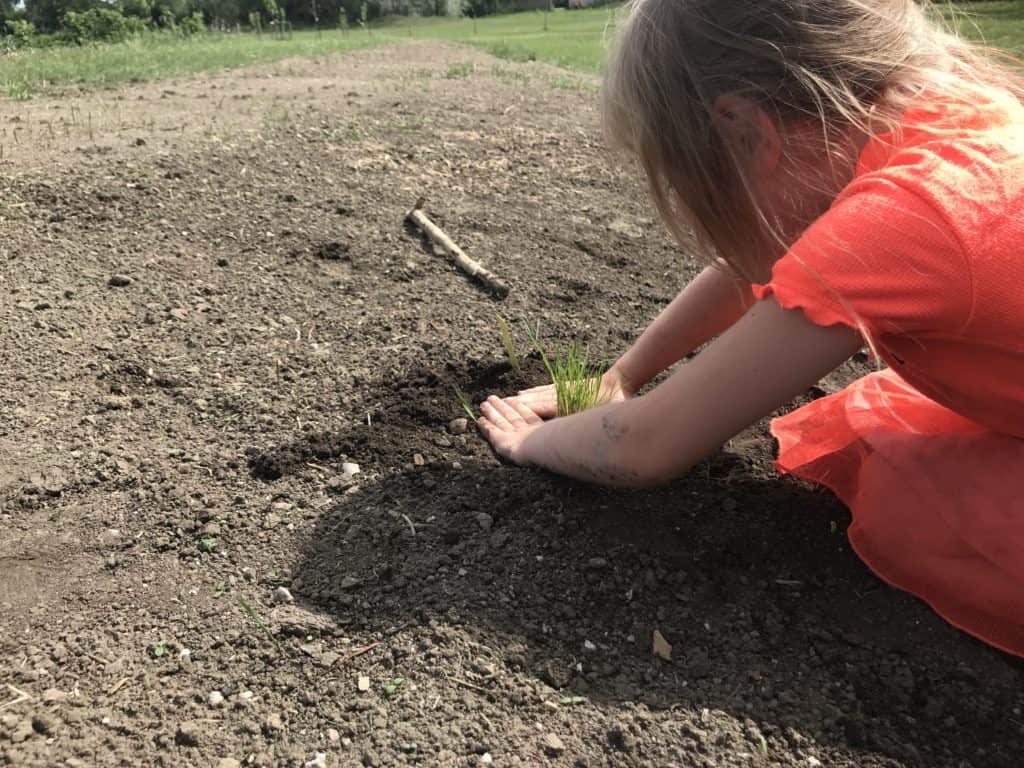
If you’re smarter than me and prefer to keep your hands and nails looking great, I’d also recommend using gardening gloves. Ha!
I did not add any compost or amendments of any type to the soil. I had planted quite a few ‘sample’ plugs last year, pretty much all of which thrived and grew well. Presumably, this means the soil is fertile enough (and not too fertile!) for native plants.
Watering
Be sure to water plugs thoroughly after planting them. Thereafter, water every few days or whenever the soil feels dry for the next 8 weeks. After that, you should monitor carefully about once per week, and water only when the soil feels dry.
Once the first year is past, you shouldn’t need to water anymore! This is assuming you’ve planted the right plant in the right place, of course. During extended drought periods, you may choose to water occasionally to maintain the plant’s best appearance.
In Conclusion
I haven’t yet planted all the plugs I received; probably only about half. There is a lot of rain expected for the next few days in this area, and I didn’t want to risk losing the especially tiny or fragile plugs.
Hopefully the ones I did plant won’t be drowned or washed away or beaten down by heavy rain!! Meanwhile, I’ll give the unplanted trays a soak because the little plugs do dry out really quickly in the hot sun.
Happy Gardening!

